Floors
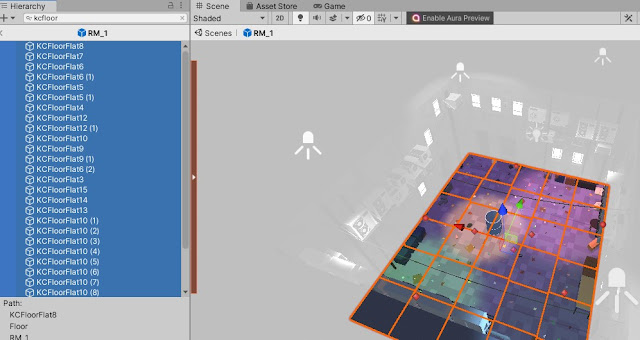
The first and easiest thing to do is mark the floor tiles for navmesh generation. In the Hierarchy searchbar, search "kcfloor", select all, and in the Inspector window change the layer to "FloorTiles".
Walls
A wall is a combination of multiple wall segments and all of the assets associated with it. Create an empty GameObject and call it wall_# (ex: wall_01, wall_02, etc.). When completed, when you select the GameObject it should look like so:
Your hierarchy should look something like this:
To make sure you're not missing any assets, you should deactivate the GameObject in the Inspector window.
Click on the wall GameObject and add "Script_Transparency_Manager" to it. The room entrance, marked by a teal diamond, is the north wall. Any walls that face forward should be marked as "North". South facing walls should be "South". Walls, however, facing west are "East", and eastward facing walls are "West". By default, the custom opacity should be 0, but you can change it with the slider.
0 = completely transparent; 100 = opaque
Exit Doors
Inside the wall gameobject, create an empty GameObject and call it "Door_<wall type>".
Select a wall piece that perfectly lines up with the exit like so:
Select those wall assets and everything on it, and put it inside the new GameObject like so:
Select the door GameObject and change the Tag to "Door". Add a Box Collider, set "Is Trigger" to true, and using the "Edit Collider" button, position the collision region to encompass the door GameObject.
Room Opacity
To set up room opacity, drag the VisibilityController prefab into the room prefab. If the room is where the player starts in a level, toggle "Is Start Room." For "Room", just drag the room prefab into it. For "Walls", drag each wall segment into it. Also, using the "Edit Collider" button, make sure the region matches the room's bounds.